DIY Laminate Floor Installation: A Complete Tutorial
Are you ready to transform your space with a sleek new look? Laminate flooring offers the perfect blend of style, durability, and affordability. Why hire professionals when getting started with smarter home upgrades sounds more appealing? With some planning and a little elbow grease, DIY laminate floor installation is within reach for anyone willing to roll up their sleeves.
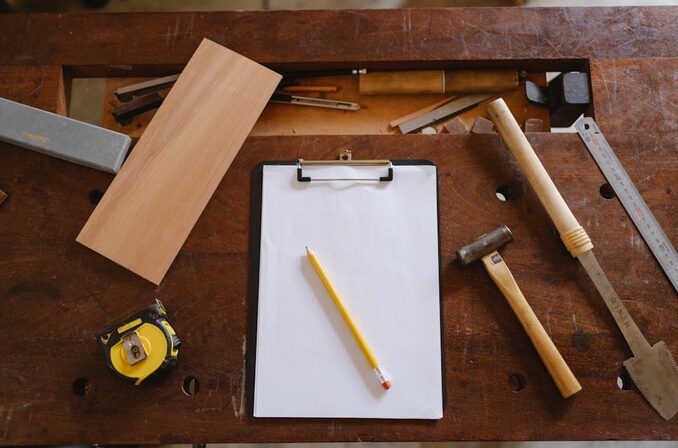
Calculate Materials Needed

Before you start laying down your new laminate floor, it’s crucial to determine how much material you’ll need. Begin by measuring the dimensions of the room where the flooring will go. Use a tape measure for accuracy and jot down your measurements. Next, calculate the total square footage by multiplying the length by the width. It’s always wise to add an extra 10% to account for mistakes or future repairs. This buffer ensures you won’t run short if something goes awry during installation. Don’t forget about underlayment; it’s essential for cushioning and soundproofing. Make sure to factor this into your calculations as well.
Prep the Subfloor
Prepping the subfloor is a crucial step that sets the stage for your laminate flooring. Start by clearing the area of furniture and debris. This creates a clean workspace, making installation easier. Next, inspect your subfloor for any damage or imperfections. Look out for squeaks, bumps, or moisture issues. Address these problems before proceeding; they can lead to uneven surfaces later on. Once you’ve ensured everything’s in good shape, it’s time to clean thoroughly. Vacuum away dust and dirt so that nothing interferes with adhesive or locking mechanisms during installation. If your subfloor is concrete, adding a moisture barrier is a must to prevent dampness from affecting your new floor.
Make Some Layout Planning
Before you get started, take a moment to plan your layout. This step is crucial for achieving a professional finish. Start by measuring the room’s dimensions. Knowing the square footage will help you visualize how the planks will fit together. Consider creating a simple sketch of your space with furniture locations marked. Think about which direction to lay the laminate. Typically, running planks parallel to the longest wall creates an illusion of more space. However, personal preference plays a role too, so don’t hesitate to experiment. Leave room for expansion around edges and corners. Most manufacturers recommend at least a quarter-inch gap between walls and flooring.
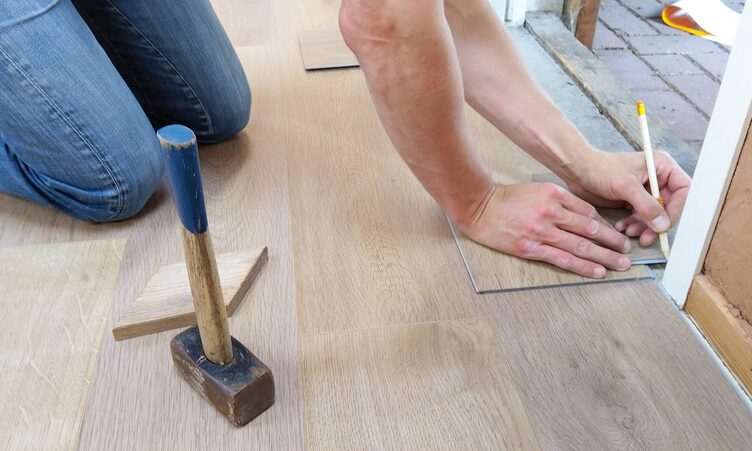
Cut Like a Pro
To achieve a polished look, cutting laminate flooring requires precision. Start with the right tools, preferably a circular saw or a miter saw for clean edges. Make sure your blades are sharp; dull blades can splinter the material. Before you cut, measure twice and mark once. Use a square to draw straight lines on the back of each plank. This technique helps ensure accuracy during cuts and minimizes waste. When making your cuts, support the planks properly to avoid damaging them. Remember to wear safety goggles; protecting your eyes is crucial when working with power tools. If you’re dealing with intricate areas like door frames or corners, consider using a jigsaw for more maneuverability.
Know Your Space, Especially When It’s Small
When tackling tight spaces, flexibility is key. Use a tapping block to gently nudge planks into place without damaging the edges. This tool helps you maintain a clean and snug fit. Consider using a pull bar for areas close to walls or cabinets where your hands can’t reach. It allows you to leverage force effectively without risking injury or damage. Measure twice and cut once, especially in confined areas. A jigsaw can be handy for making precise cuts around pipes or obstacles that standard saws can’t navigate easily. Don’t forget about expansion gaps; they’re crucial even in small rooms. Ensure there’s enough room for floor movement by leaving proper spacing against walls and fixed objects.